This tutorial has been written by nephilim, for questions, suggestions or any other comments head over to the dedicated BI Forum Thread. It has been reviewed and some minor spelling mistakes have been corrected by ArmedAssault.info :
Ok, lets's start here.
This friday, I'll show you how to create and enhance your photo-sources normal maps.
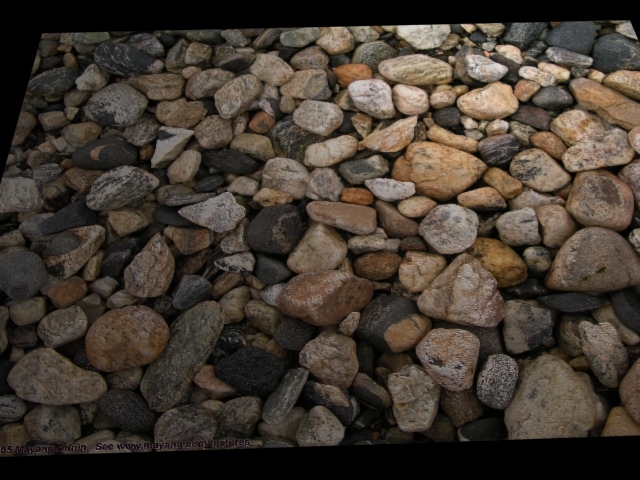
The texture can be found on mayang.com/textures. Usually people seem to take a photo and run it through the normal map photo shop filter and the result will usually look like this:
Ok now the pic´s black and white. And now it tells us quite alot!
Normal Maps are commonly refered as bump maps on steroids. Especially if you create them via photoshop. Generally speaking white areas are the peaks and dark areas are the valleys.
As you can see in the image some stones are black. It would make much sense having these caving inside whilst their actual geometry is described with a convex shape.
Ok, so how to we solve this?
Increase the samples in the plugin? Hm lets try this:
Looks better but still they appear flat
So what do we do??
We are going to do what the plugin does but we'll do it manually! MANUALLY?? Yes indeed, manually!
But we´ll use some trickery to get what we want :)
Ok as I said earlier, the B/W image tells us alot about the geometry. BUT since some things like stones (or whatever) can be black we´re having a problem :/ So what now? Hang us? No....
Open up your image in Photoshop and then click on : Image>Mode> LAB-Channel.
Some might say hey I could crank up the brightness to get that. Well, ... it might work in some cases in others it won't. That is my approach and you are free to follow or not.
But there are still some stones that are dark due to their color. And we do not want that because we aim for it to get something similar to a Bump Map, that just describes the height! So we need to elimate these folks :)
For this I took the LAB channel and pasted it into a new image, and then collapsed it down and converted into an average RGB.
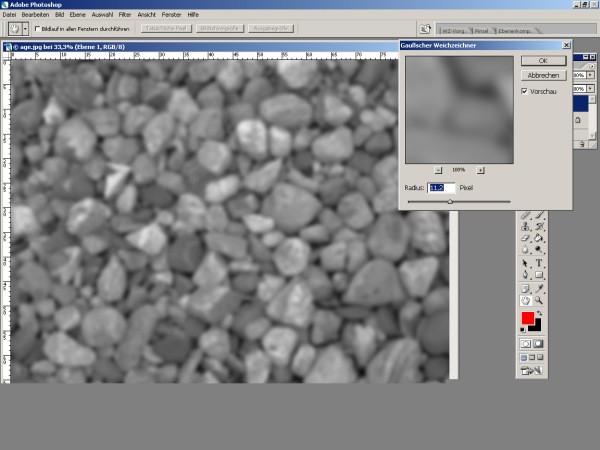
Also as we just want to describe the actual geometry I blurred the image a bit to get rid off all those small nooks and crannies. We will need them but not right now.
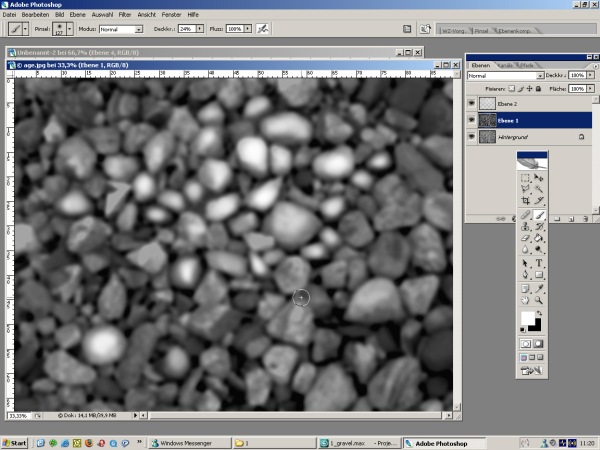
The next step is to basically paint over some stones, preferably the dark ones to give them more height. You can use the dodge and burn tools or just paint with black and white and blend them, what ever serves you. I also cranked the contrast a to get better peaks and valleys.
Save that B/W image and run the normal map filter with it I used these settings : -height generation :4 sample -scale 5 -height source: average RGB
Anything else isn't important.
Ok now we have a normal map and it looks cool but still not awesome :) Here comes the trickery. It's simple if you know how to do it and its not really magic.
What you do is the following.
duplicate, set blend mode to overlay, blur, duplicate, set blend mode to overlay, blur, duplicate, set blend mode to overlay, blur, duplicate, set blend mode to overlay, blur, duplicate, set blend mode to overlay, blur, duplicate, set blend mode to overlay, blur, etc etc.
Yes thats all!
Duplicate copies the normal map and setting it to blend mode somewhat doubles the "height" blurring and allows you do get smoother transistions.
Now that youve youve done this, merge all layers down and eventually use the smoothing brush to get some nasty edged stones smooth.
Ok now we have a geometry describing normal map, but it doesnt have any detail! all the scratches are gone! NEPHILIM IS A LIAR *DIE**HATE*!
Remember the other crappy normal map we got previously?
Load it up and copy it into the "cool new" normal map and set it to overlay blend mode


 0%
0% Arma Tactics released for PC via Steam.
 A new home of sorts for